

Understanding Inspect Wood Art Projects For Termite Entry Points is essential.
Understanding How to Inspect Wood Art Projects for Termite Entry Points
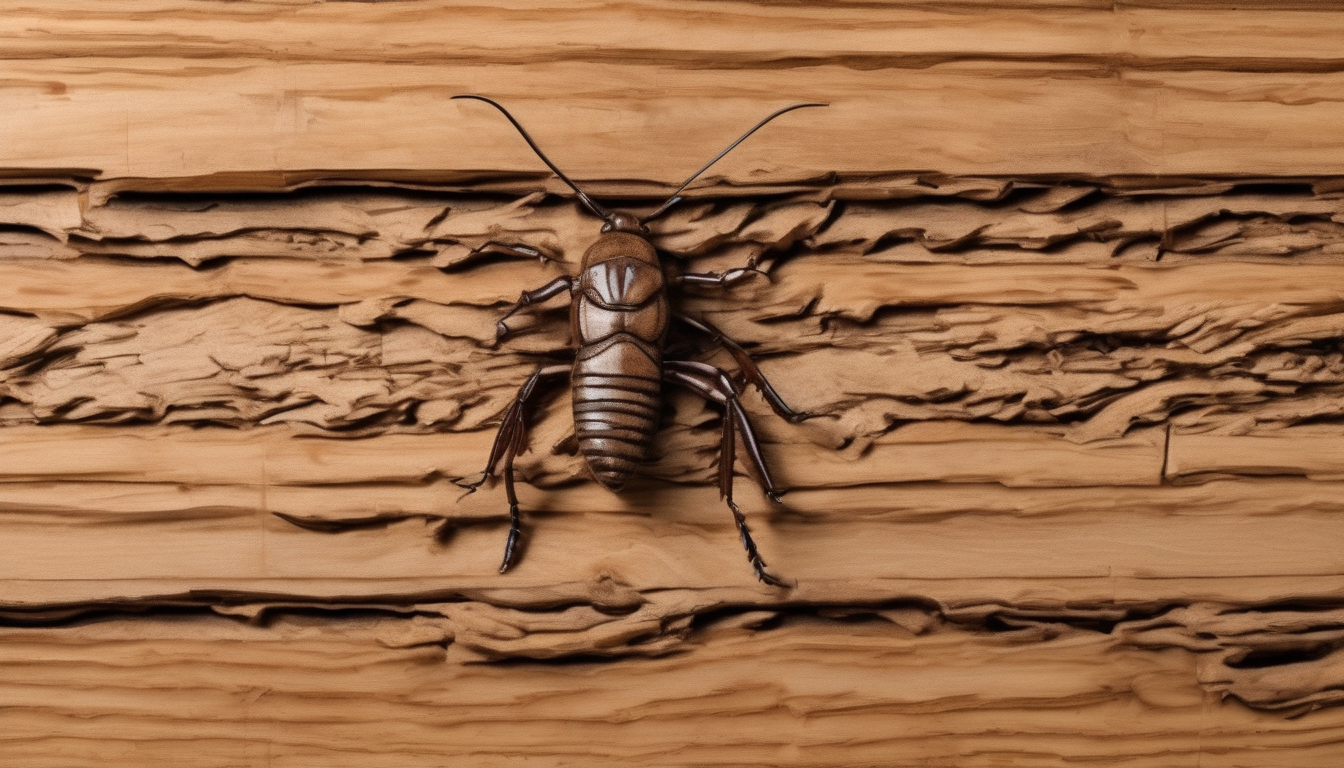
In Dubai, wood art projects are not only aesthetically pleasing but also a significant investment. Termites can silently compromise these structures, leading to costly repairs and structural issues. This guide provides an in-depth approach to inspecting your wood art projects for termite entry points.
What You Will Learn
- The importance of regular inspections
- Common termite entry points in wood art
- Techniques for visual inspection and moisture mapping
Materials and Preparation
To effectively inspect your wood art projects, gather the following materials:
- Moisture meter (for detecting hidden moisture)
- Magnifying glass or hand lens for detailed inspection
- Notebook and pen to record observations
- Thermal imaging camera (optional but highly recommended)
- Friendly flashlight or headlamp for dark areas
Inspect the Outside First
Begin by examining the exterior of your wood art projects. Termites often enter through hidden pathways on the outside before they make their way into the interior.
- Check for Mud Tubes: Look for thin, worm-like tubes on the surface of the wood or in soil near the base. These are evidence that termites have established a pathway to your artwork.
- Inspect Joints and Seams: Pay close attention to areas where different pieces meet. Cracks or gaps can serve as entry points for termites.
- Look for Signs of Disturbance: Termite activity may cause minor disturbances in the soil around your project, such as small mounds or tunnels.
Inspect the Inside of the Wood Art
Once you have inspected the exterior, turn to the interior for a comprehensive assessment.
- Use a Moisture Meter: Insert probes into the wood to measure moisture content. High levels can attract termites and indicate weak points in your artwork.
- Inspect Joints and Internal Structure: Carefully check joints and the internal structure for signs of termite damage, such as hollowing or crumbling.
- Look for Termite Tubes Inside: Sometimes, termites create hidden tubes inside the wood that can only be detected with a moisture meter or by carefully probing the wood.
Use Thermal Imaging for Hidden Damage
A thermal imaging camera is an invaluable tool in detecting termite activity, especially when it is hidden. Here’s how to use it effectively:
- Set Up the Camera: Position the thermal imager at a safe distance and ensure that you have clear visibility of your artwork.
- Scan for Abnormal Temperatures: Termites generate heat as they feed, which can be detected by the camera. Look for hot spots in areas where termites are likely to be active.
- Multiply Inspections: Perform multiple scans at different angles and times of day to get a comprehensive view of potential termite activity.
Monitor Moisture and Ventilation
Moisture and poor ventilation are key factors in attracting termites. Here’s how to address these issues:
- Dry Out Excess Humidity: Use dehumidifiers or improve air circulation around your wood art projects to reduce moisture levels.
- Ensure Proper Ventilation: Allow air to flow freely through the project. Open spaces and gaps can help prevent moisture buildup and deter termite infestations.
- Inspect for Leaks or Damp Spots: Check for any signs of water damage that could be attracting termites, such as drips from overhead fixtures or pooling around the base.
Implement Termite Protection Strategies
To safeguard your wood art projects, consider these advanced strategies:
- Apply Borate Solutions: Borates are effective in preventing termite infestations. Apply them as a preventive measure to surfaces and joints.
- Install Baiting Systems: For active infestations, consider termite baiting systems like Sentricon. These systems slowly introduce lethal substances that termites carry back to the colony.
- Use Non-Repellent Termicides: Apply non-repellent chemicals around your projects to create a barrier against termite entry.
Expert Tips for Inspecting Wood Art Projects
- Regular Inspections: Schedule biannual inspections, especially after significant climate changes or rainfall events.
- Immediate Action: If you notice any signs of termite activity, act quickly to prevent further damage. Contact a professional pest control service immediately.
- Keep Records: Maintain detailed records of your inspections and treatments. This helps track progress and identify patterns in termite behavior.
- Educate Yourself: Stay informed about the latest termite prevention techniques and technologies. Attend training sessions or workshops to enhance your skills.
FAQ: How to Inspect Wood Art Projects for Termite Entry Points
Q: What are the most common signs of termite infestations in wood art projects?
A: Look for mud tubes, hollow spots, and signs of moisture damage. Any changes in the appearance or structure could indicate termite activity.
Q: How often should I inspect my wood art projects?
A: Inspect your projects at least twice a year, and more frequently if you live in areas with high termite activity.
Q: Can I prevent termites from entering my wood art without professional help?
A: While DIY methods can be effective, it’s often best to consult with a pest control expert who understands the specific challenges of termite prevention in wood art projects.
Conclusion: How to Inspect Wood Art Projects for Termite Entry Points
Regular inspections and proactive measures are crucial to protecting your valuable wood art projects from termites. By following the steps outlined in this guide, you can ensure that your custom joinery remains safe and beautiful for years to come.
